Starting in PDF Studio 2018, Linux users will now be able to scan using direct Sane access. This fixes the issues caused by using the old Sane Daemon that was previously used to connect to scanners. In addition this also allows for a more advanced user interface with new scanning options.
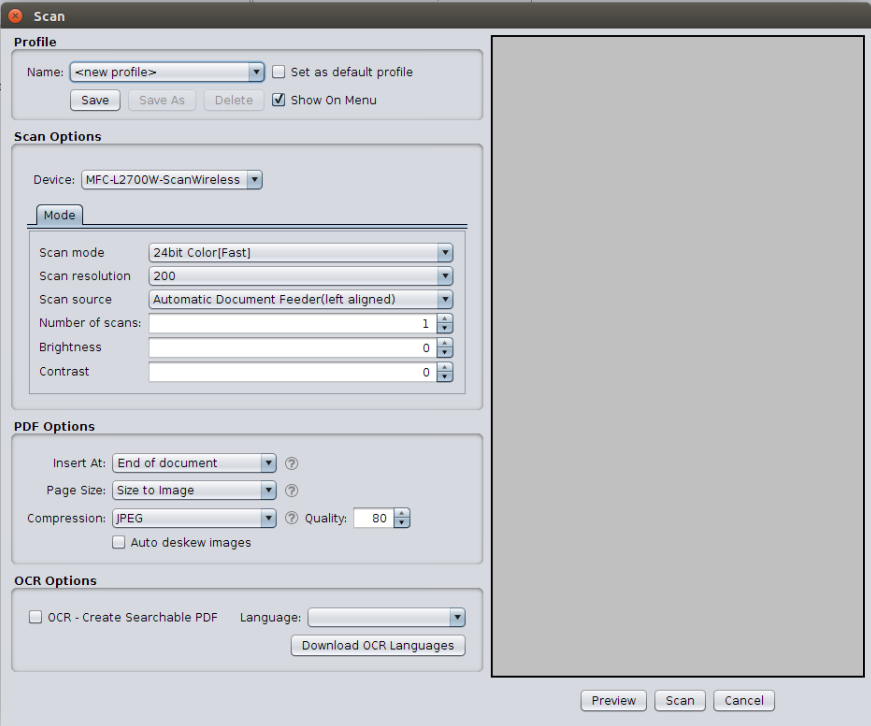
One of the new options include scanning profiles. Scanning profiles allow you to save scanning settings to access quickly or start a scan with the desired settings directly from the menu without showing the dialog.
How to Create Scan Profile
To save a scanning profile, first set all the settings that you wish to use and then click the Save button to create the new profile.
Note: Check “set as default profile” to set the scanning profile as a default profile.
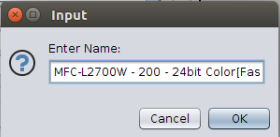
By default, the profile is set to “[scanner name] + [color format] + [dpi setting]“. If needed, you can edit the name.
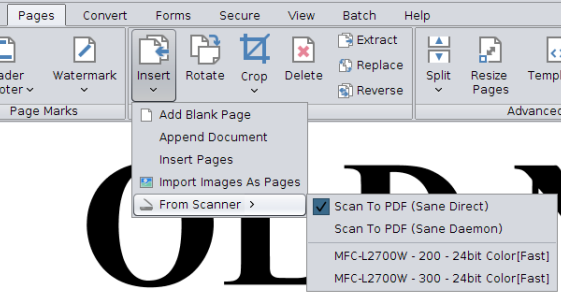
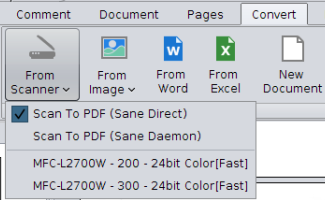
You can use/access these profiles from the following places:
From Pages tab

From Convert Tab -> From Scanner drop down


