Q: I’m on Linux and on some documents, the fonts are not displayed correctly but they look just fine in Windows. How can I fix this issue?
A: This is because most Linux systems do not come pre-installed with as many fonts as Windows does. When a PDF document is created it can have the fonts either directly embedded in the PDF or not at all. When the fonts are not embedded in the document, PDF Studio has to look for the font on your system. If the font is not located on the system PDF Studio attempts to locate a similar font on your system to use instead. While this works in most cases sometimes there is no good substitution which results in fonts that may look slightly off or as square characters.
This can easily be resolved by making sure you have the correct font on your Linux system. You can do this by determining which fonts are missing then manually installing any fonts that are needed in the document.
Determining the Missing Font
- Open the document that you need to verify
- Open Document Properties (You can either press Ctrl + D on your keyboard or go to File -> Document Properties)
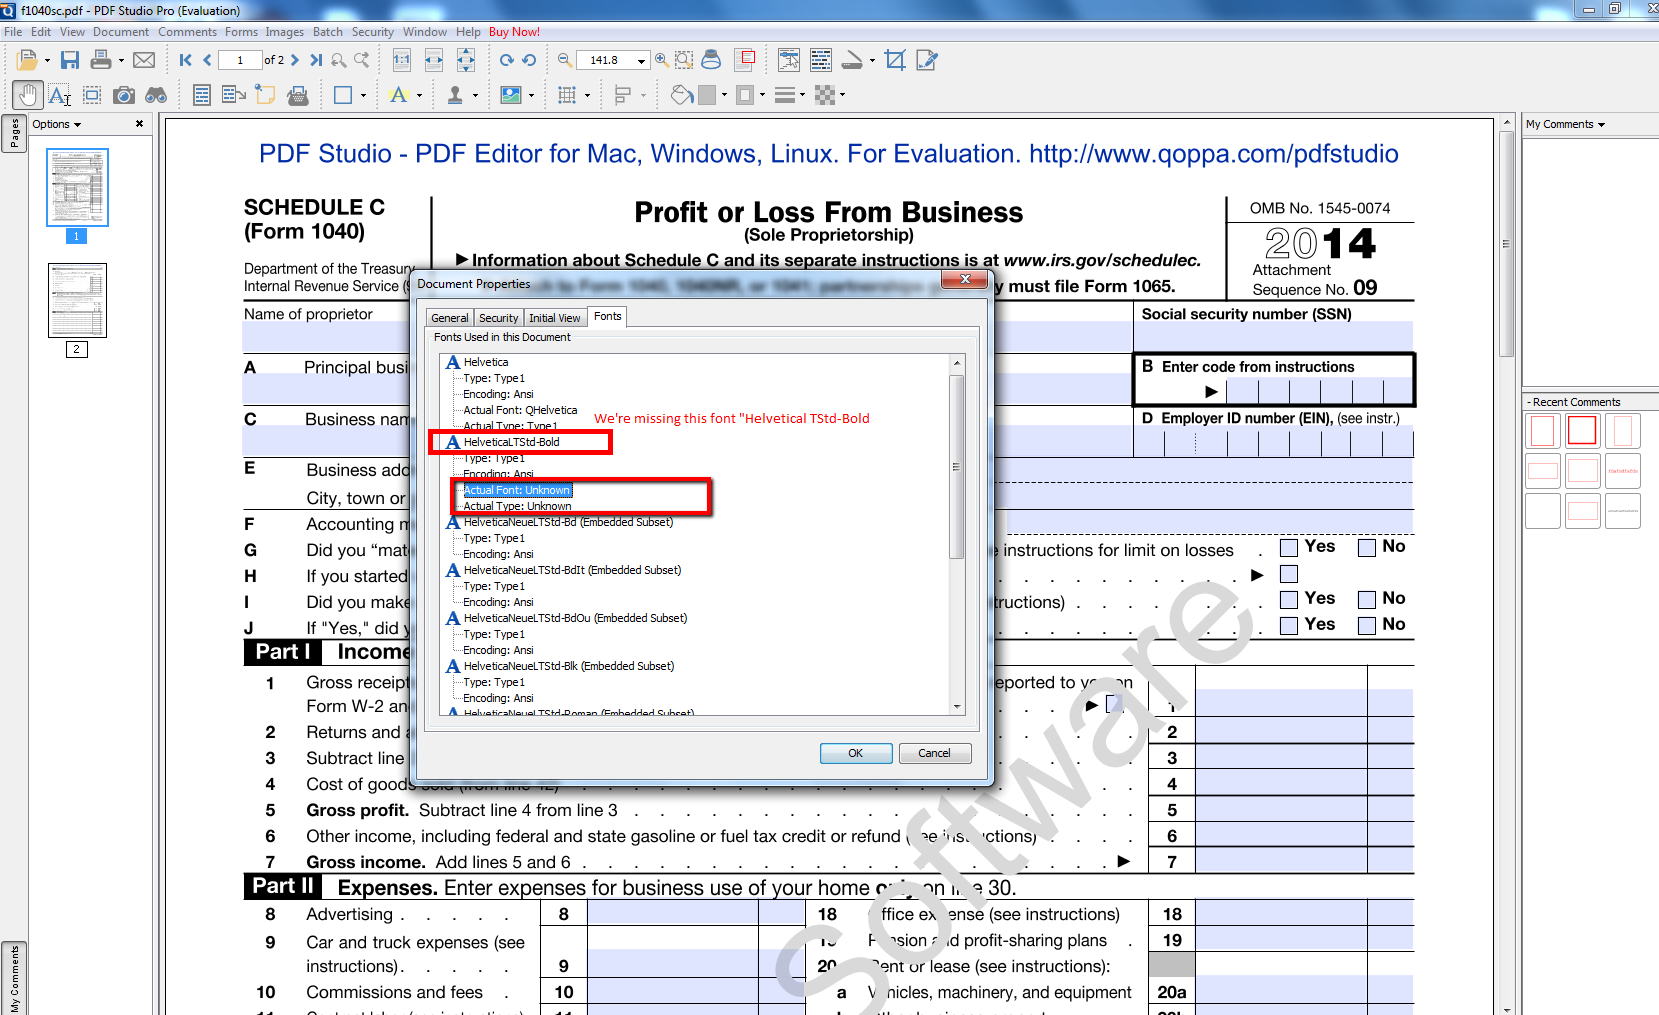
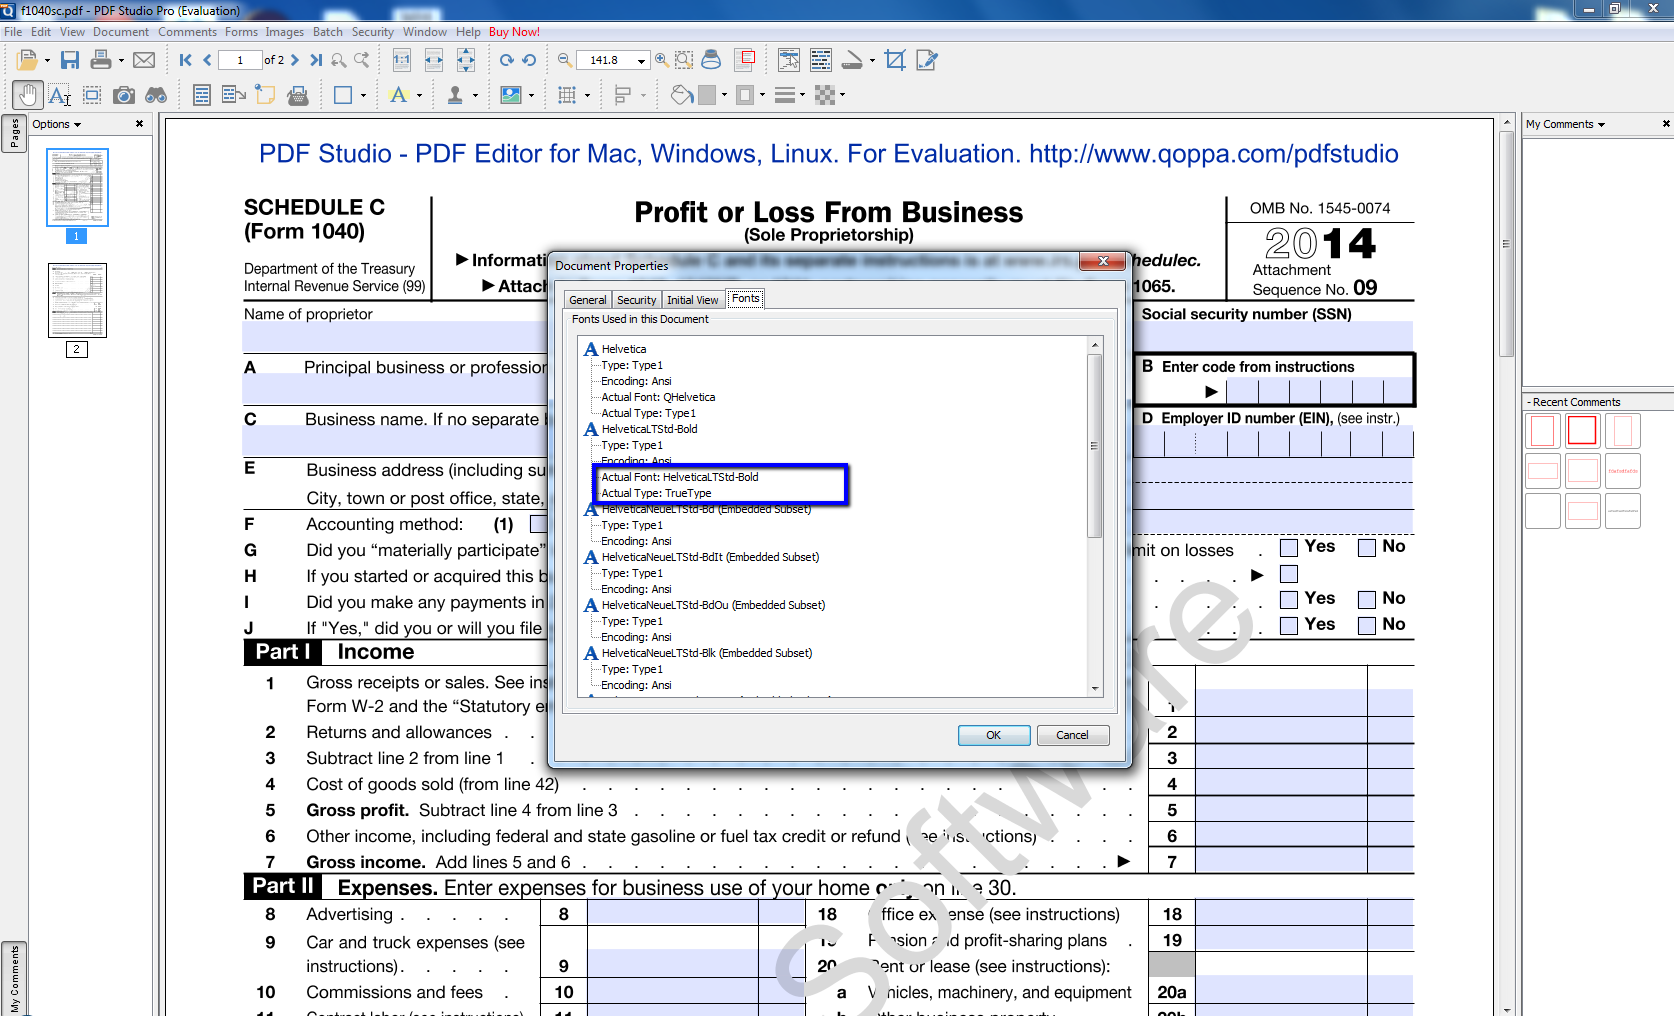
- Click on Fonts tab, go through all fonts on the list and look for any missing fonts. The fonts tab will show “Unknown” for “Actual Font” and “Actual Type” on any fonts that are not embedded in the document. See screenshot below as a reference
Installing the Missing Font
Below is an example to install “Helvetica LT Std” using terminal:
- Open terminal.
- Type “su root” and hit Enter
- Input password for root account and verify that “#” displays
- Download the font that you need to install
- Extract/unzip compressed folder (if need) and copy the folder containing fonts
- Run “fc-cache -v” to make the system aware of the newly installed font(s). To force the re-generation of apparently up-to-date cache files, overriding the time-stamp checking, you can issue the -f flag.
# fc-cache -f -v
…
/usr/share/fonts/New Font Name: caching, new cache contents: 20 fonts, 0 dirs
… - Double check with fc-match (Replace ‘New Font Name’ below with the new font name installed)
# fc-match ‘New Font Name’
newfont.otf: “New Font Name” “Roman”
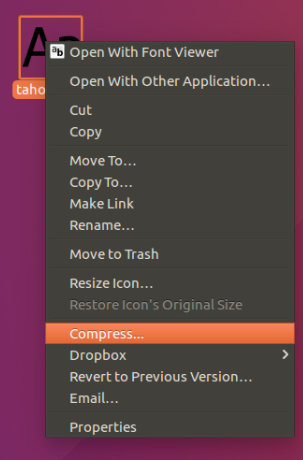
Below is an example to install “Tahoma” using Font Viewer:
- Right click on .ttf file
- Select “Open with Font Viewer”
- Click “Install” button
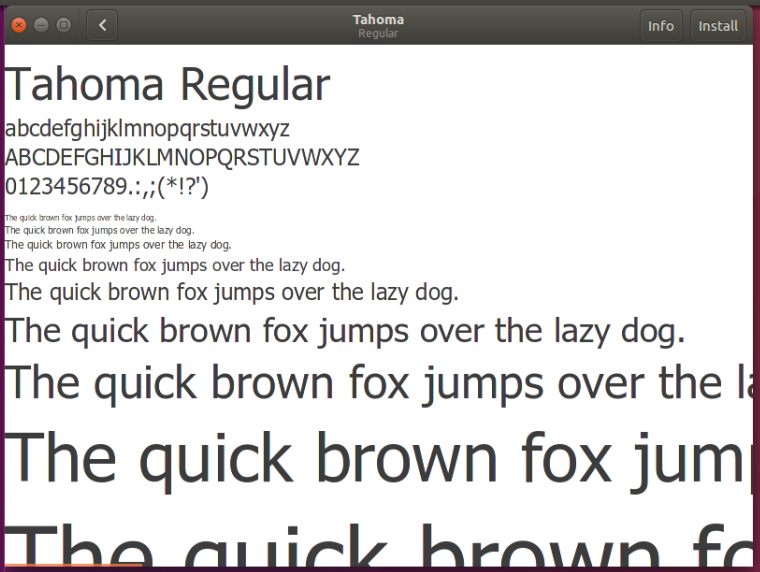
- Close the dialog
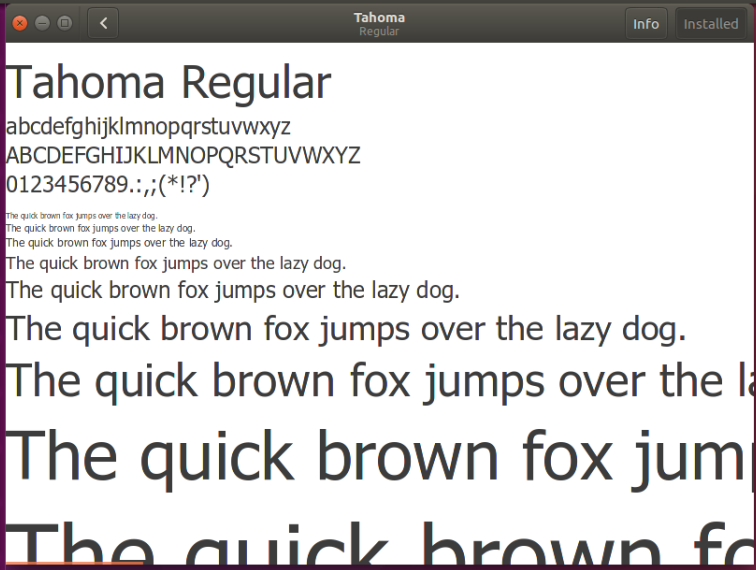
- Open the same .ttf file again with Font Viewer
- Wait for few seconds and it will display “Installed”
Confirming the Font was Installed Correctly
- After installing missing fonts open the document that had the missing font
- Go to Document Properties and verify that “unknown” is no longer shown on “Actual Font” and “Actual Type”.
If you created the document in PDF Studio make sure to Embed the fonts in the PDF prior to saving to ensure that they show up correctly on Linux. See: How to embed fonts in a PDF document
Note: Helvetica® is a trademark of Monotype Imaging Inc.
